Hands-On Design & Fabrication
An independently designed and fabricated full-scale woodworking project, taken from spatial constraints and an initial hand sketch through CAD planning and physical construction in about one week.
- My role
- Everything — concept, constraints, CAD, fabrication, and assembly
- Process
- Visualise → constrain → sketch → CAD → fabricate → finished structure
- Timeline
- Approximately one week, start to finish
- Governing constraint
- Roughly 72 in. of available span, with doorway clearance to preserve
How I work through a physical build
This project is here because of how it was done rather than what it is. It began as an ambiguous physical problem — a fixed amount of space and an idea of what needed to go in it — and ended as a finished full-scale structure about a week later, designed and built entirely by me.
My design process usually starts spatially. I can hold a structure in my head, work through how its components need to meet each other, and think forward to how it would actually go together before anything is drawn. The work after that is turning that mental model into something concrete: dimensions, then a sketch, then CAD, then material.
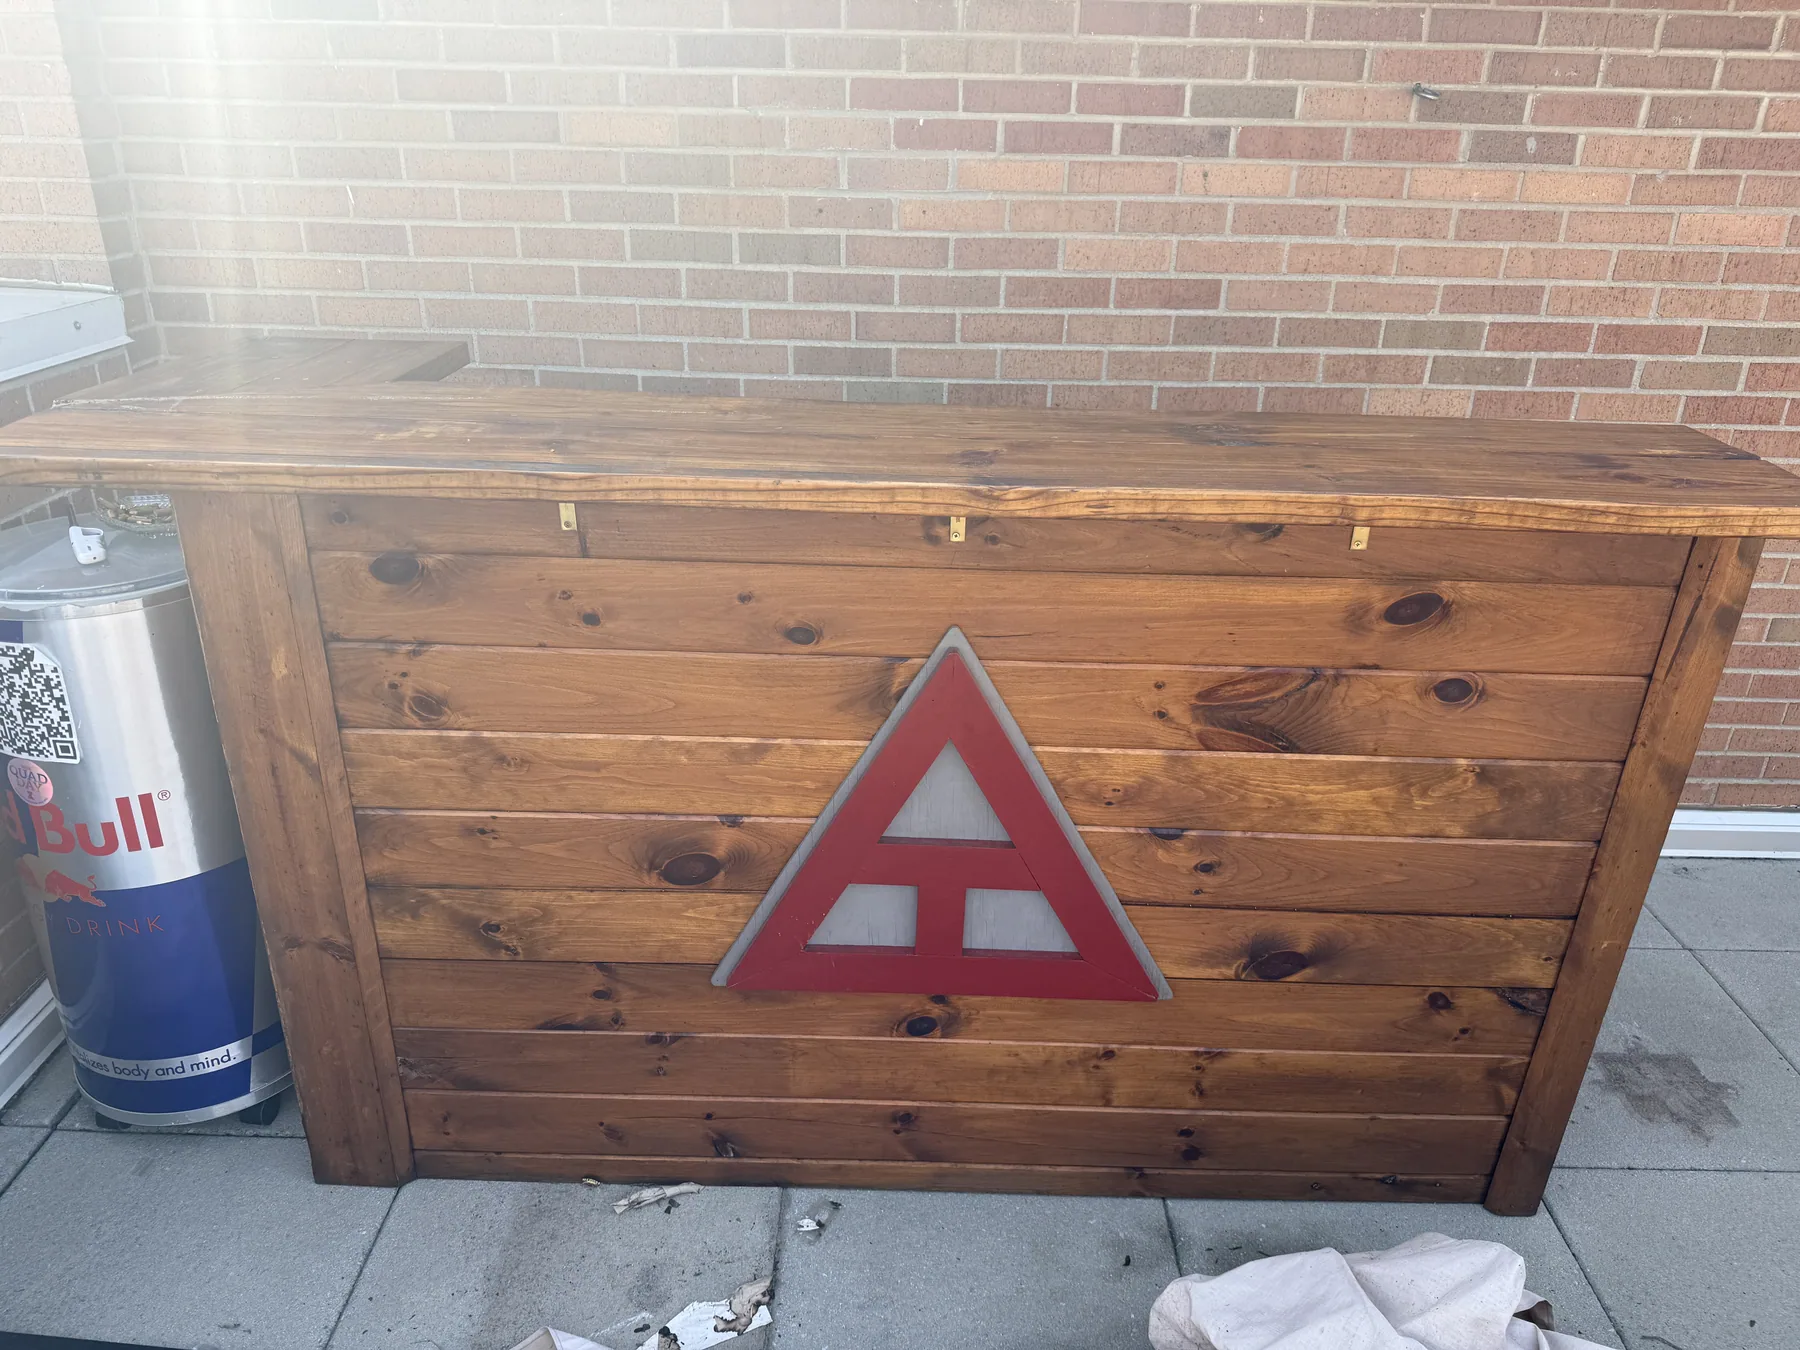
The finished object is a custom full-scale bar built for my fraternity. The engineering interest is in the path it took to exist.
Starting from the space, not the drawing
The first real design work was defining what the space would allow. I measured the environment and wrote the constraints down as relationships rather than fixed numbers, because most of them depended on each other.
The sketch works through things like:
- Roughly 72 in. of available span for the whole assembly
- Doorway clearance that had to be kept usable
- Shelf depth, and the total depth of the bar top
- The bar-top lip and how far it overhangs
- The width of a movable “door” segment
- How those dimensions had to sum to stay inside the span
Writing it that way meant I could test combinations against the total span instead of committing to a number early and discovering later that something would not fit. The handwritten values are working figures from that process, not a final dimensioned drawing.
Turning a mental model into something buildable
The constraints became a CAD assembly so the structure could be checked as a whole before any material was cut.
I modelled the frame, shelving, and work surfaces as an assembly to organise the structure and confirm the proportions and component relationships worked together. The model was a planning tool for fabrication rather than a presentation render — its job was to tell me what to build and roughly in what order, and to expose anything that would not resolve before I was standing over the material.
The model was the plan, not the finish line
The CAD set the architecture. Details kept developing once I was working with real material.
Put side by side, the built structure follows the model's architecture — the shelf levels, the frame, the return at the end, the overhanging top — while a number of details resolved differently in timber than they did on screen. That is what I would expect. The model answered whether the thing fit the space and held together as a system; the material answered the rest.
Working this way means treating CAD as a decision-making tool with a defined job, and being willing to adapt once the real constraints of stock sizes, joints, and sequence show up. A model you refuse to deviate from is a model that stops being useful the moment reality disagrees with it.
Building it
I fabricated and assembled the structure myself, start to finish, in about a week. A timeline that short changes how you design: decisions have to be made quickly and in the right order, since each one closes off options further down the build. Cut sequence, assembly order, and where to leave yourself adjustment all matter as much as the geometry.
Working alone also means every problem is yours to solve at the moment it appears, without handing it off or waiting on a revision. Most of the useful judgement in this project came from that — deciding on the spot whether something needed to be fixed, adapted, or left alone.
Finished structure
The finished structure was built for my fraternity as a full-scale custom bar.
Why this is in an engineering portfolio
Building things by hand is not new to me. I grew up working on projects with my dad, and that gave me an early, practical sense of tools, materials, and how physical objects actually go together. Fabrication has never been the intimidating part of a project for me — it is usually where the design gets tested.
The pattern here is the same one I use on engineering work: visualise the system, establish the constraints, model it well enough to plan against, then build it and adapt where the material demands it. This project happens to be woodworking rather than machining or aerospace hardware, but the sequence, and the willingness to carry something all the way to a finished physical object, is what carries over.